How to create your Vapaus account and start riding
1) Create an account ➡️ Go to user.vapaus.io and select from below "No account yet? Sign up". 🌐You can change the language from upper right corner!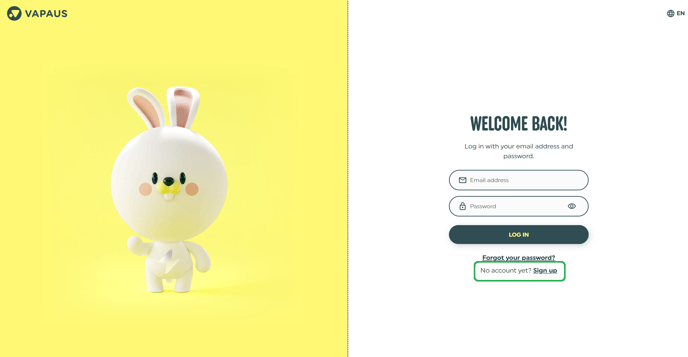
2) Start creating an account by entering your email address and a password of your choice
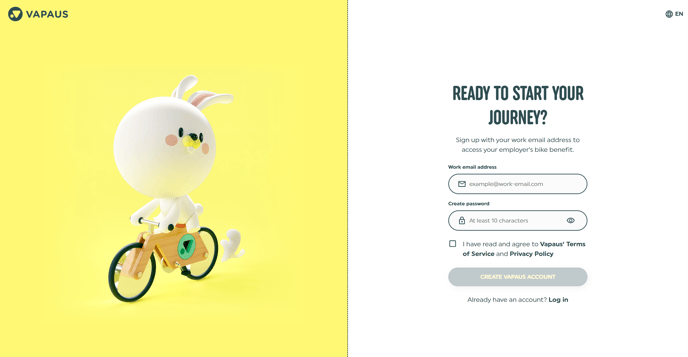
- Use your work email address (if you don't have a work email address, you can use your personal email address).
💡Please add a personal/secondary e-mail to your active user account later, so that you can still log in e.g. if you change jobs. - Create a strong password (at least 10 characters)
- Before the account can be created, accept the terms of service ✅
- Click "Create Vapaus account"🪄
- ✉️ You will receive a confirmation message to the email address you provided.
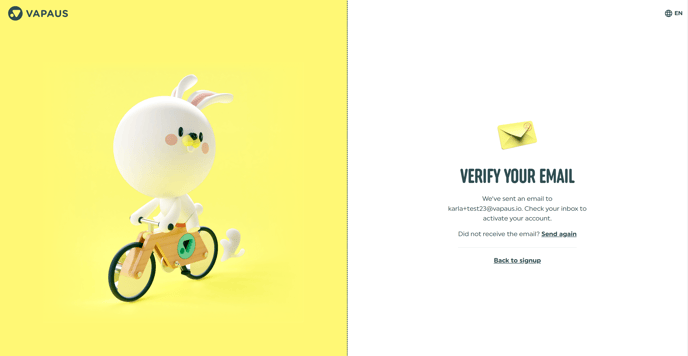
- Verify your email address by clicking the "Verify my email" link in the message.
The link is valid for 48 hours! Without a verified account, a bike order cannot be made.✌️
3) The system guides you forward. Click "Get started"👉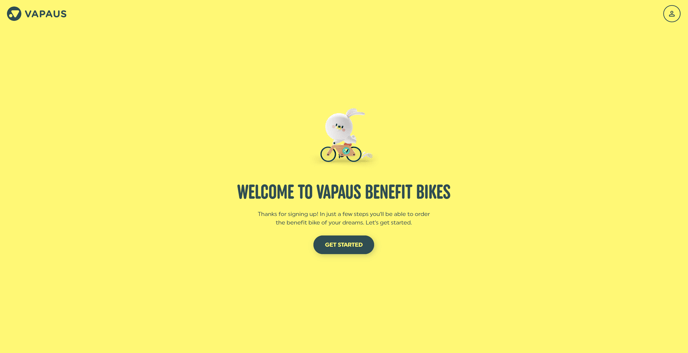
4) Select your country by clicking on the menu📍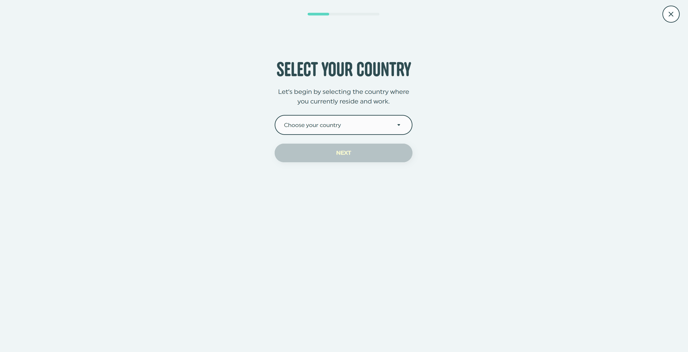
5) Verify your identity 🛂
💡Before you can order a benefit bike, you must identify yourself with strong identification (Nets identification service). Online banking credentials or a mobile ID can be used for authentication.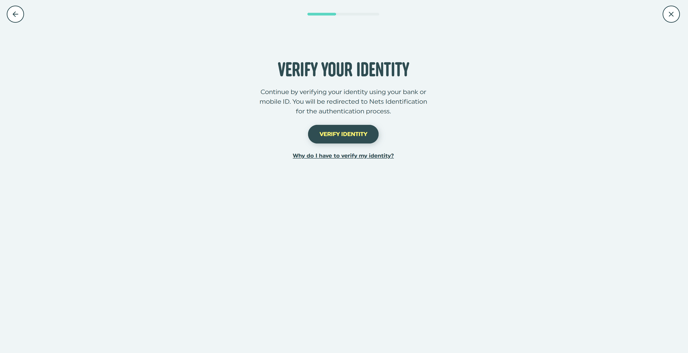
The system tells you when your identity has been successfully verified! 🎉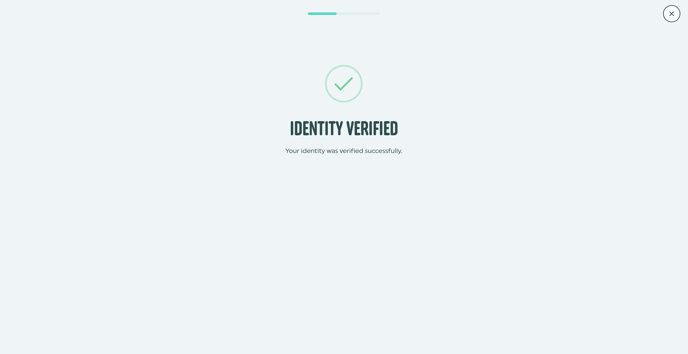
6) Complete your profile information. During the authentication process, your name has already been entered into the system.
The system will ask you to fill in other basic information about your profile, such as your address. These will be needed for your employer to identify you as well as to send you bike benefit-related invoices (such as redemption invoice).
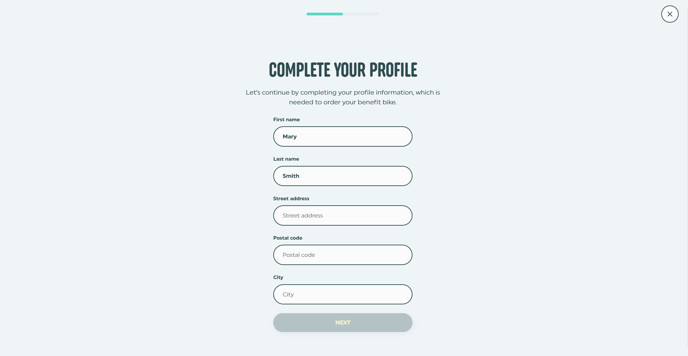
7) Once this step is completed, our system will start trying to find available benefits for you.
👉 Case A - One or more employers were found
👉 Case B - The employer is not found
Case A - One or more employers were found
💡If there is only one employer found with the verified email domain, the system will suggest only that one for you. If several employers use your same verified email domain name (e.g. if the group has several subsidiaries under the same domain name), you’ll be asked to pick the right one from a simple drop-down. Click on the menu "Choose employer". 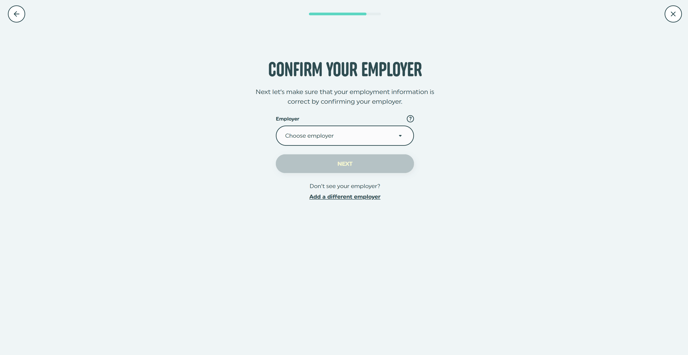
- Select your correct employer from the menu and click "Next".
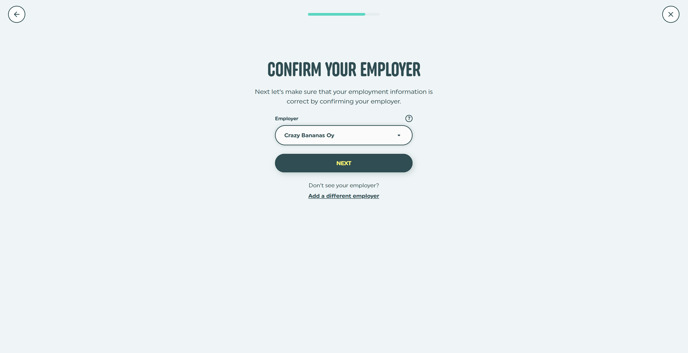
- Confirm that you are choosing the right bike benefit.
The menu shows if your employer has several bike benefits available, choose the right one. Click "Next".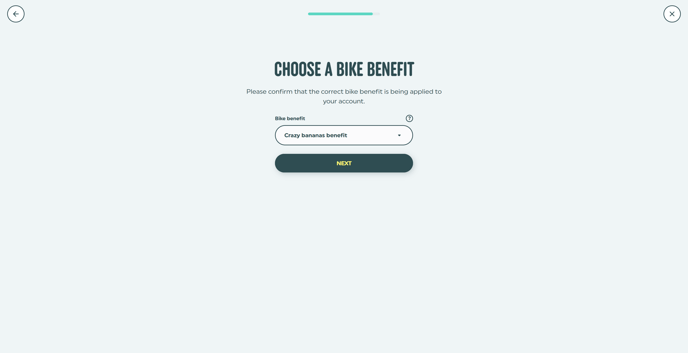
- If your employer requires additional information, such as employee number or cost center, the system will ask you to complete them here. Fill them in and click "Next".
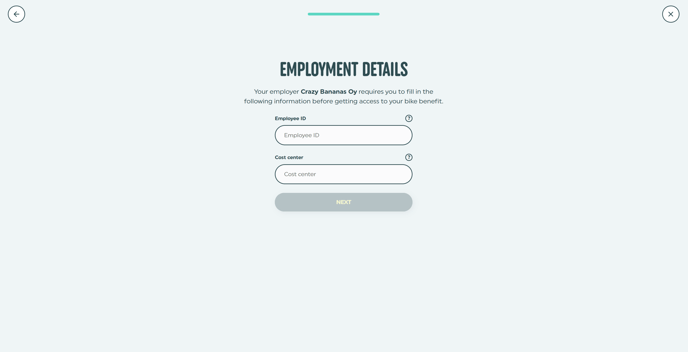
-
👀Get to know your employer's bike benefit guideline here. You can view the full guide (i.e. the terms of use of the bike benefit) by clicking "View full guideline".
The system shows you a summary of the requirements of your employer's bike benefit.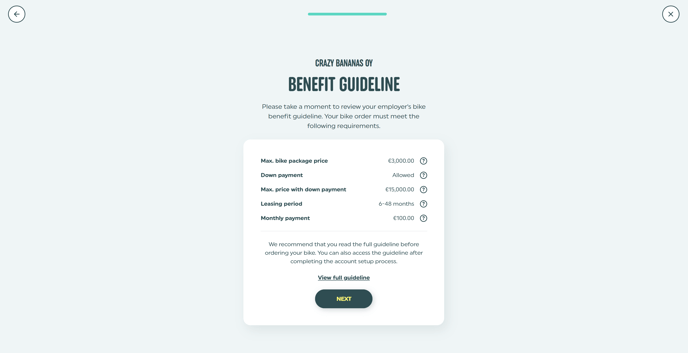
💡After your user account is connected to your employer's active bike benefit as a user, you may, depending on the conditions of your employer's benefit, already have the opportunity to order a bike right away (a) or you have to wait until your request is approved by the employer (b).
Case B - The employer is not found
If your email address does not give you access to any employer, we will suggest two options:
Click "Don’t see your employer? Add a different employer"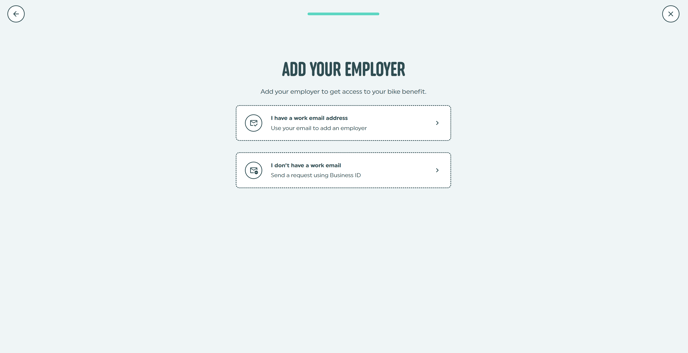
A) Add another (professional) email address to verify
B) Request access to use your employer's bike benefit by entering your employer's business ID
- Fill in your employer's business ID and click "Next".
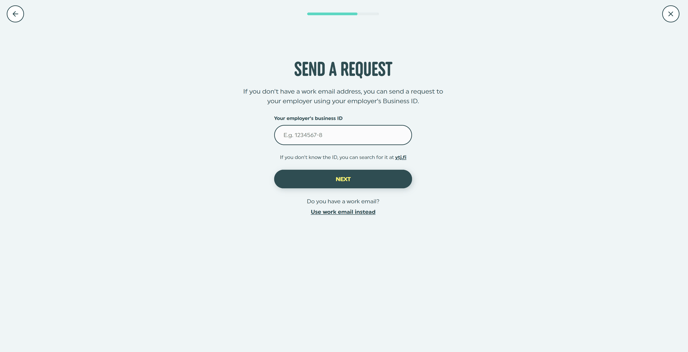
- The system requests voluntary additional information (employee number and cost center) so that your employer can identify you more easily and thus more likely to approve your request to use the bike benefit. Fill in the information and click "Next".
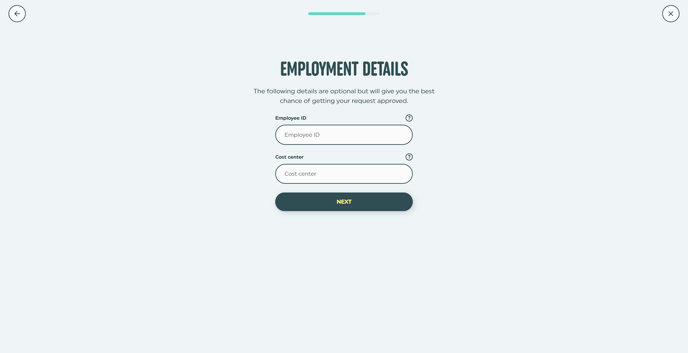
- The request is sent to your employer for approval
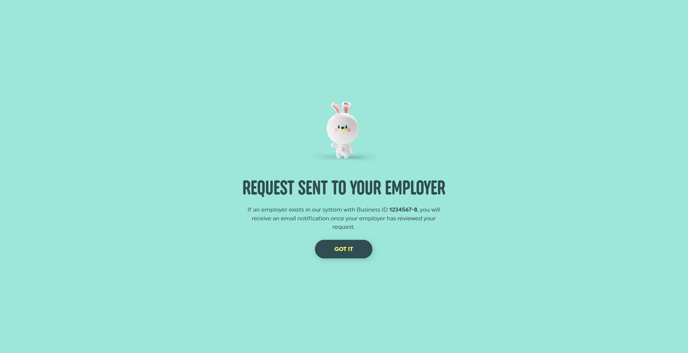
- You will receive a message in your email when your employer has accepted your request! 🙏
You're ready to ride! 🤩🤌


